Function of the X-ray Machine
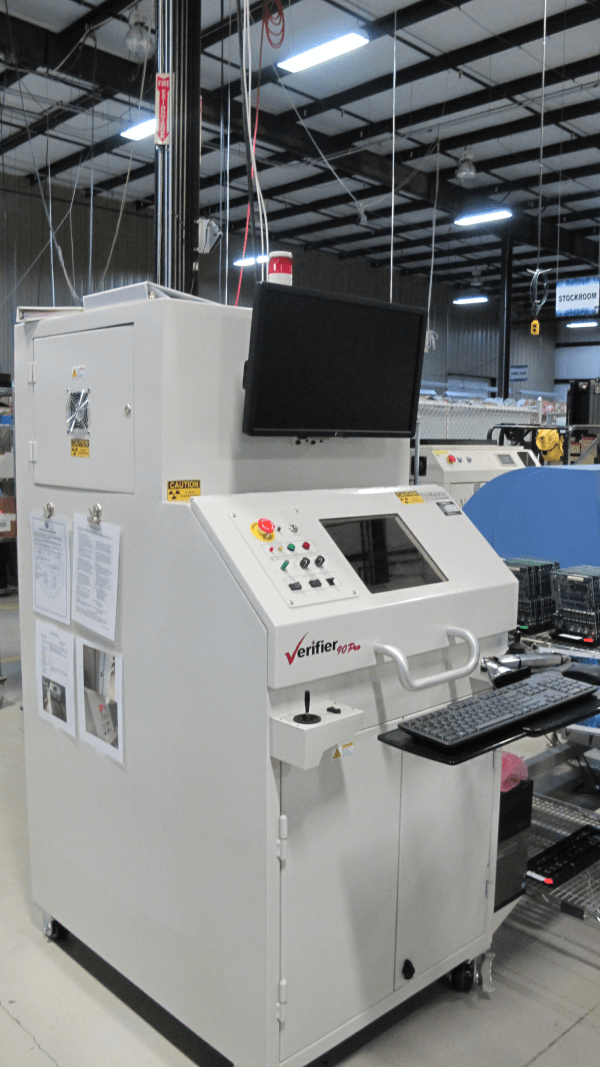
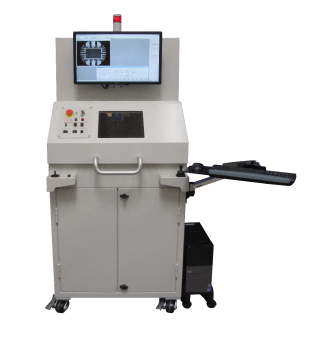
-resized-600.jpg?width=213&height=378&name=img_7590_(1)-resized-600.jpg) An X-ray machine in micro-assembly inspection is used to see through the first layers of an integrated circuit to inspect the quality of a ball grid array (BGA). It allows us to see and inspect what we wouldn’t be able to otherwise. More specifically, we could see defects in BGA chips, detect possible counterfeit parts, and inspect our special potted assemblies, along with other applications.
An X-ray machine in micro-assembly inspection is used to see through the first layers of an integrated circuit to inspect the quality of a ball grid array (BGA). It allows us to see and inspect what we wouldn’t be able to otherwise. More specifically, we could see defects in BGA chips, detect possible counterfeit parts, and inspect our special potted assemblies, along with other applications.
Cost Savings:
-
Reduced Outsourcing. RBB is now able to save time and money by no longer needing to outsource the inspection of certain boards and defect issues to other companies.
-
Added Customer Base. At some point in the future, RBB may be able to add income by bringing in customers who want to utilize RBB machinery to test and identify defects in their products for a fee. In addition, previous customers have voiced that they would bring more business to RBB if we had an X-ray machine.
Quality Improvement:
-
Added Defect Recognition. Analysis of Ball Grid Arrays yields quick identification of bridging, missing solder balls, as well as voids in the BGA. The X-ray enables quality assurance of even the smaller pitch spaced arrays which are traditionally not so easily inspected. Identification of defects, that may not be readily apparent under initial inspection, can be made quickly and easily using the X-ray. Also, any moisture-sensitive components can easily be identified and fixed if they have “popcorned” during the reflow process.
-
Counterfeit Part Identification. With some of the jobs that are done today, necessary parts may no longer be in production and purchasing directly from the manufacturer is no longer an option. The magnification and analysis of parts on a microscopic scale will show whether or not a part from a secondary source is authentic. Using this method of inspection, counterfeit parts can be identified before being shipped to the customer or even before purchase.
-
Component Integrity. Static sensitive materials can be left in the original packaging during X-ray process to preserve the integrity of the parts.
-
 Test Procedure. A set percentage of boards from each batch may be tested to identify any product issues early on rather than later in the production process. (Customer may choose to have a higher percentage of boards inspected to insure quality for an additional fee) In addition, all prototypes will be analyzed to ensure functionality and offer insight to the operator as to what a board of that type should look like in the X-ray.
 -
Initial Use. Early utilization of the X-ray should not be limited to a few boards from each batch. Numerous tests early in the use of the X-ray will give the operator experience as well as the ability to recognize defective boards efficiently. Additionally, the machine will be used for process validation, essentially removing the guess-work involved with setting up the machines and reflow ovens for new projects and assisting in process improvements for current projects.
-
Troubleshooting. This device will allow test technicians to view specific suspect components (fine pitch gull wing and bottom-termination only in addition to the BGAs) rather than guess if a valid solder joint is present, reducing troubleshooting time and lessening the possibility of damaging assemblies with unneeded rework.
 to find out more about our Verifier-90pro X-Ray Inspection System. Our future investments in equipment will continue to build our strong foundation of manufacturing quality circuit boards. Contact us today to learn about how we can help you with your small batch electronic assemblies.
Frank has a unique background of engineering, which includescircuit design, product simulation, software generation, product validation and design experience with military contractors, Industrial equipment manufacturers, and NASA Satellite power supply development. Currently at RBB, Frank is responsible for component and manufacturing engineering and keeping RBB on the forefront of technology.


